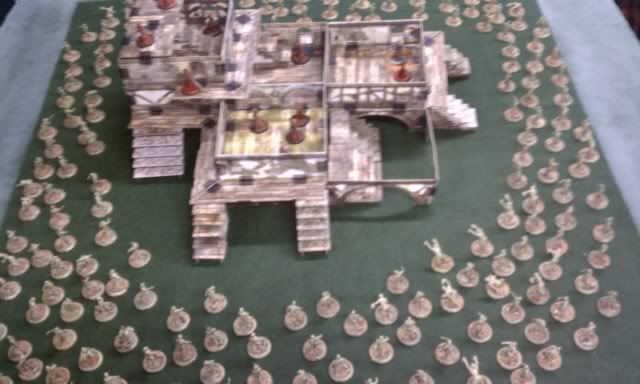
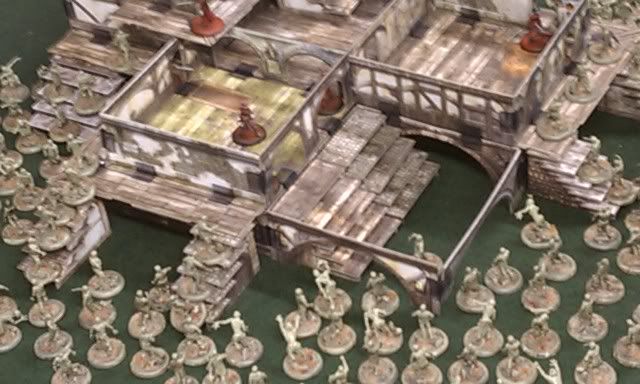
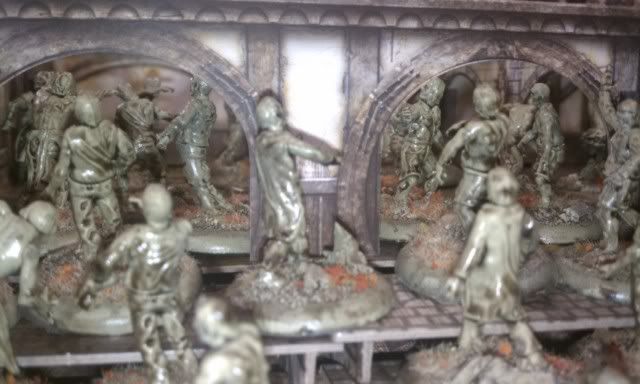
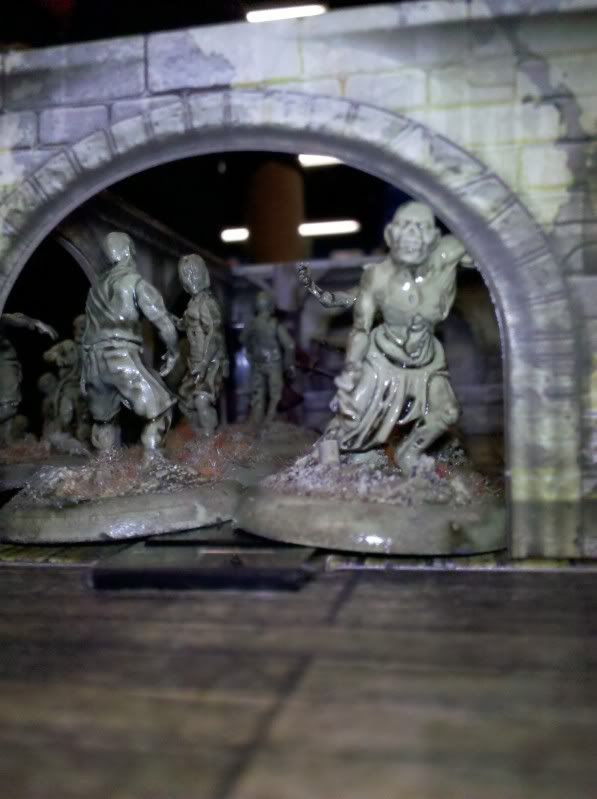
This is a record of how I built one (with a little help from some friends...) last year in time for a special event. I needed something that looked like this:
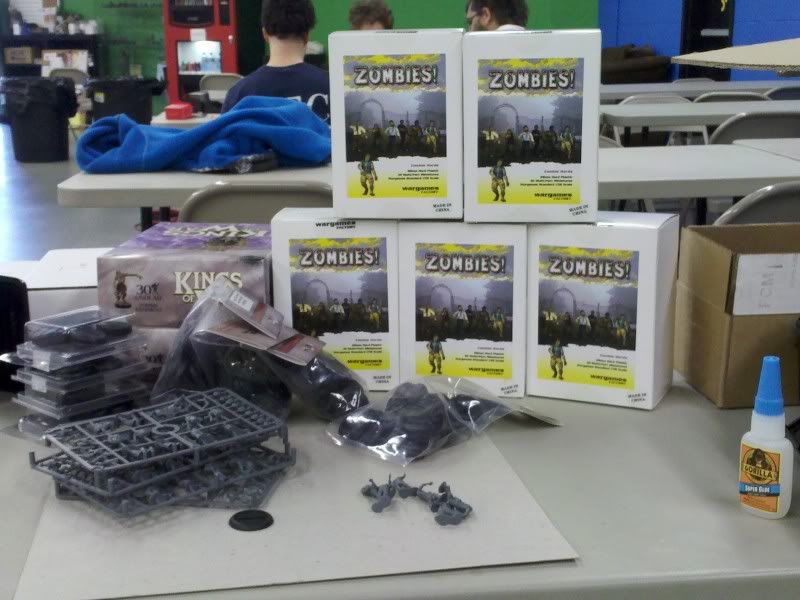
I started with a pile that looked like this:
What really helps me to finish this sort of thing is to break things down into the smallest tasks possible, and to track my process. At the beginning it feels like I have an unconquerable mountain ahead of me, by the time I really start into it I'm pretty excited about every little milestone.
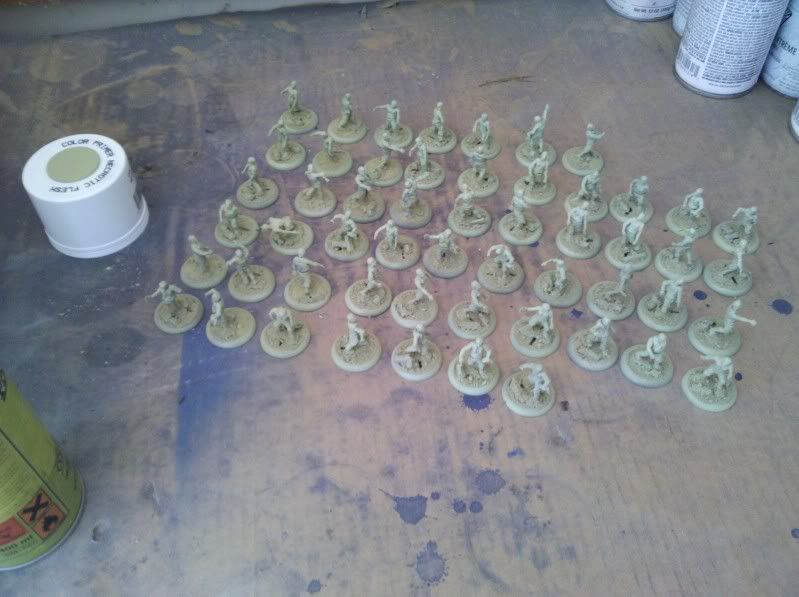
I started by deciding to work one box at a time. I thought it would help keep me as organized as possible. It turns out I was right, and I'm glad I did it this way. Each box, in turn, was snipped from the sprues, cleaned up, and glued together. I even systematized the building. I glued legs down to the bases, bodies to legs, arms to bodies, then finally, heads to bodies. By the time I finished each body part the first models down were okay to be handled. I used a plastic weld for this, as I wanted the solid bond between the pieces. Eventually I stopped at 180 zombies built. I figured it was enough for my purposes, and I have to admit, I was sick of looking at them by that point.

Then started the basing! Like the assembly a lot of this was done at my computer desk, watching simple science fiction shows that I could only half pay attention to, and be okay with. I believe at this point it was Stargate, possibly the Atlantis series. Each model had some sand (lifted from the local volleyball court in the neighborhood park) mixed with a tiny bit of chopped sprue.
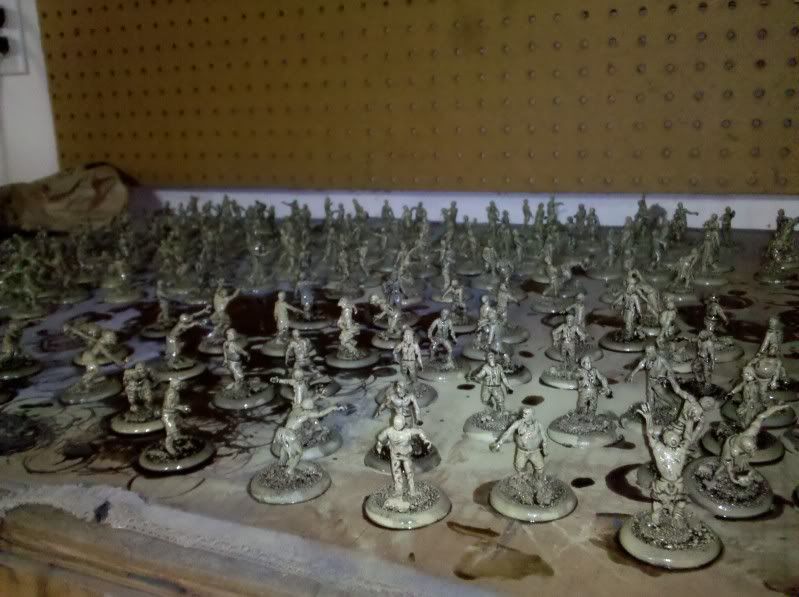
At this point (a couple of days into the project) I ended up in the garage of a friend, ready with Army Painter's Necrotic Flesh, as well as their Dark Shade (black) dip. I started spraying, using a box as a booth, batches of zeds until the whole lot were complete.
After letting the entire little horde dry a while we started a two person assembly line to dip these guys. Rather then go through the entire mess I think it might be best to point out what I learned!
1. Thin the dip a bit with rubbing alcohol. Before we did this the dip wouldn't flow off raised surfaces very well, and made the entire model look..... gummy? I'm not sure, it was just too thick on the surfaces to look correct to my eye.
2. Spin each and every model. Seriously, this in itself was liquid miracle that made the whole process worthwhile. We used a GW clear flying base inserted into the business end of a household drill. We used poster tack to affix the model to the bottom of the base, and gave them a quick spin. The entire assembly should be covered over by a heavy brown paper bag. Otherwise you're in for quite a mess. We ended up swapping the bag for a new about halfway through the horde, that's how much extra stuff came off.
3 Mix colors! We ended up running low on the dip. We poured in a bit of a dark red, cherry stain into the black, also adding in a bit more rubbing alcohol to ensure it flowed properly. It gave a bit more color to the model. A pure black often sucks the life out of whatever you happen to be working on, yet adding in a tiny bit of another color makes it really pop. I learned this trick in a painting class years ago, and apparently my instructor learned it from a printer, that always adds yellow to his black.
Each model then had a bit of drybrushing, both on the model and the base. There really wasn't much done to them in this case. It was just done, mostly in the same tones already used, to bring a couple of details out. Then a small amount of white glue was painted on to each base, which was immediately dipped into a mix of flock and static grass, then tapped off to ensure the loose stuff came off. Incidentally this seemed to help lift the static grass up and down, rather than just laying over on its side.
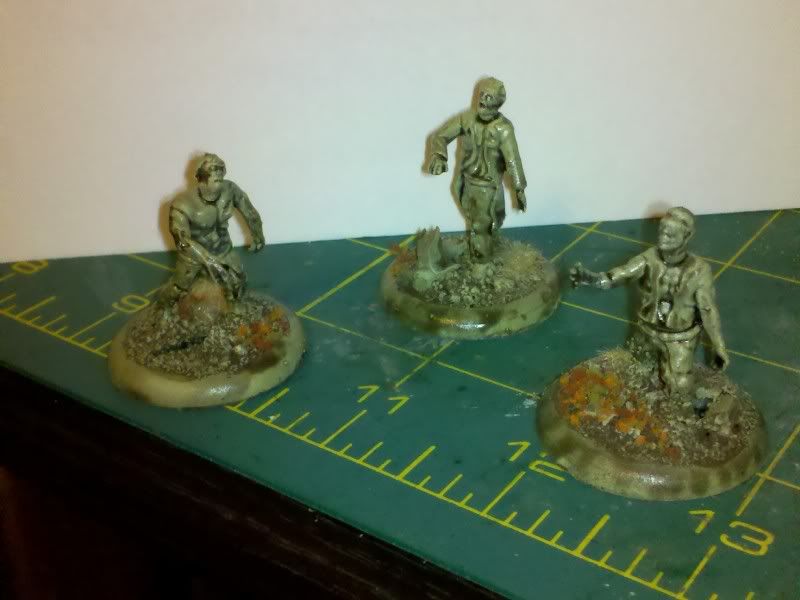
At this point I called them good! There is still some work to be done on them, little things that I want to do to make them stand out a bit more. For a horde of zombies done in less than a week, I feel pretty good about them.
Have any of you speed built a zombie horde? How did the project turn out?
No comments:
Post a Comment